Friday, March 16, 2012

Slovakia- Pedig-product of natural material

Basics of knitting

Before we start the actual weaving, we should learn a few basic concepts. Pedig always have before knitting a few minutes to soak in water. Just as we constantly knitting during soaking unfinished product (but we care not to unnecessarily  plywood bottom). Water should be lukewarm to us .Each basket consists of three parts:
braid bottom warp rods (or own production floor)
string (knit two, three, four bars ..)
closure of warp beams
So now what to do (production cart with solid plywood bottom). Prepare the warp rods. These are the rods that are sticking out from the bottom up and we create around them . Warp beams should have the same length. Here we determine by a simple formula:

required amount of trash + 5-8 cm at the bottom of braid + 20 cm at roadblock

(If we wanted to weave a complex roadblock, I prefer to still add 10 cm)
Rods must be cut as much as we  holes in the bottom. The ends of the rods  the tip, we will work with them better.
While we watch the weaving, warp rods to keep straight. If you want to Basket either widened or narrowed, we start in this direction warp and bend rods. The change is apparent to us after about two to three rows. Spokes always will end at the same place as we started (braided into a spiral, so that otherwise would be on one side of the basket higher).
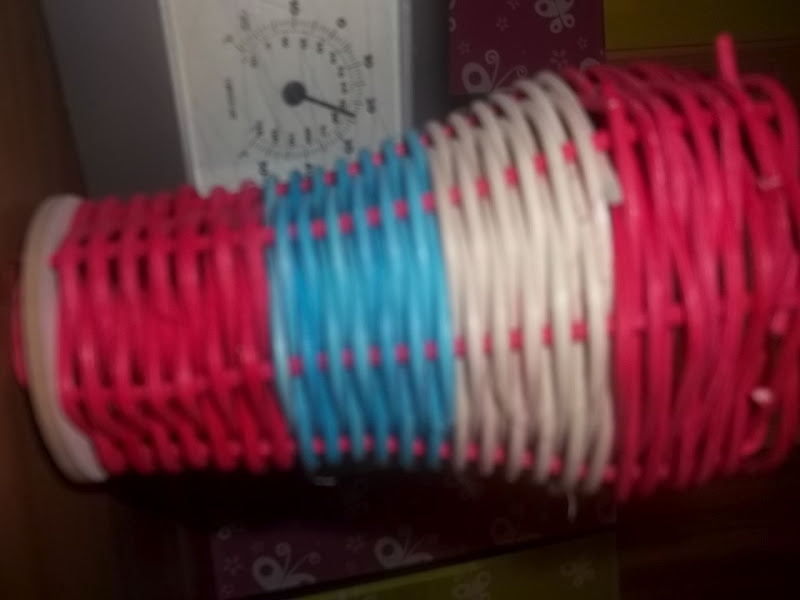
Roadblock properly tightened, the ends are nicely kept. After drying rack (next day) commandments projecting rods and paint the basket.




Tuesday, February 28, 2012

Estonian metal work


Constructing a Hammer

Materials:
·         A cube of iron 20x20 mm (10x10)  7cm (5 cm)
·         A wooden billet of birch (pine) 20x20  25 cm (10x10  25 cm)

Process:
·         Saw out the shape of the hammer
·         Mark down the hole for the handle
·         Drill the handle hole
·         File the handle hole until it becomes oval
·         File out the shape of the hammer
·         Polish
·         Surface your handle until it fits for the hammer
·         File the handle round
·         Polish the handle
·         Fit the handle into the hole of the hammer
·         Polish the completed hammer


Constructing a Spade

Materials:
·         Sheet metal (thickness 0,5 mm)
·         A wire (diameter of 2 mm and a length of 490 mm) for strengthening the handle
·         2 rivets (diameter of 3 mm)

Process:
·         Jot down the layout of the parts of the spade and mark the borderlines of these parts you are going to cut off
·         Cut out the layout
·         Mark down the dotted lines on the bending places
·         Hem the longer sides and frontside of the spade
·         Bend the sides of the spade
·         Bend the backside
·         Bend the cotters of the corners and hem them
·         Mark down the layout of the handle and the 
wire mounting of the hem
·         Cut out the layout of the handle
·         Prepare the borders for mounting the wire
·         Straighten and clean the wire
·         Bend and mount the wire
·         Bend the handle and fit it to the backside of the spade
·         Mark down the holes for the rivets and pierce the places
·         Insert rivets on your handle
·         Last but not least, fine-tune your spade

Cooking - Estonia


Autumn salad

Ingredients:
·         Half of a smaller cabbage
·         A longer cucumber
·         6 tomatoes
·         500 g of ham
·         5 boiled eggs
·         500 g mayonnaise
NB! Prepare your salad in a glass bowl!

Preparation:
1.       Grate the cabbage
2.       Chop up the cucumber, tomatoes and ham to small cube-shaped pieces or bars
3.       Peel the boiled eggs and smash with a fork
4.       Lay half of the ingredients into the bowl, each one to a separate layer: cabbage to the first layer in the bottom of the bowl, secondly cucumber, then tomatoes, ham and eggs. Cover the layers with half of the mayonnaise (250 g) with a spoon.  Poke your salad full of holes with a knife for the sauce to reach the bottom layers as well.
5.       Lay the second half of the ingredients in the same order of layers and cover with the rest of the mayonnaise. Poke some more holes through the layers.
6.       You may as well serve the salad immediately or leave it in the fridge for a while.